Description
Curtain Track
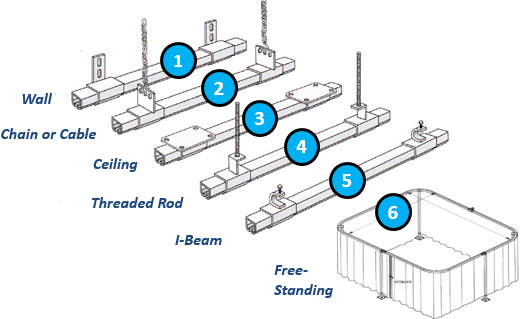
- 16 gauge galvanized steel tracks
- Nylon roller hooks for easy opening
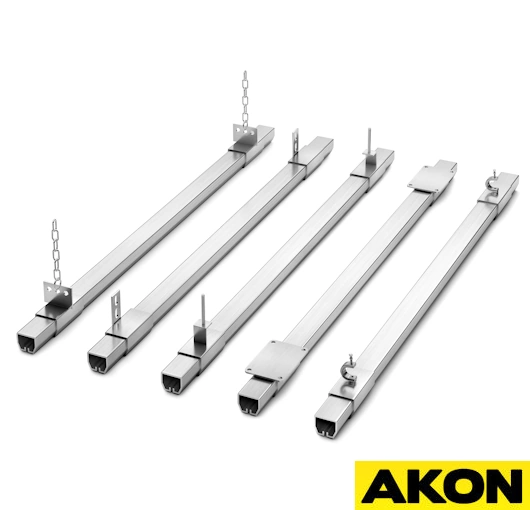
- 6 mounting styles to connect to various structures
- Free standing hardware for up to 20' in height

Static Mount Hardware
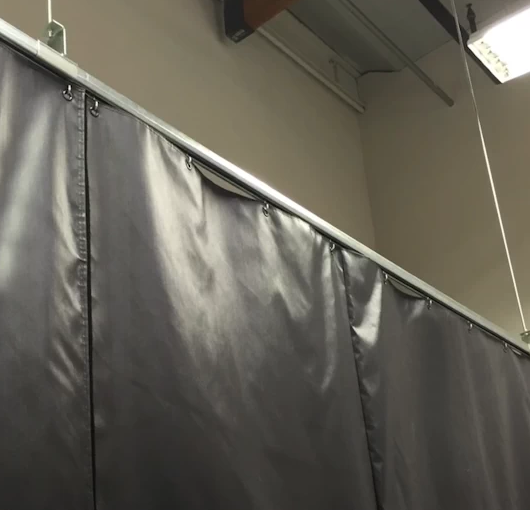
- Aluminum Angle - Use with self tapping Tek screws to pinch curtain to angle.
- Grommets Only - You can then use many DIY methods to hang the curtains.
- Beam Clamps - Clamps onto the flange of beams, joists and purlins.
Drop Ceiling Mount
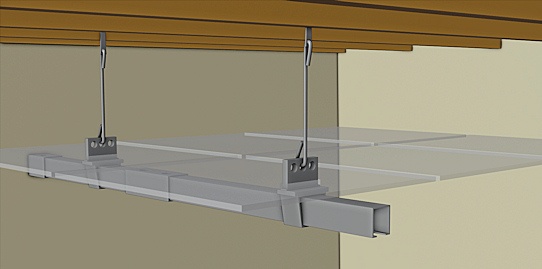
- Chain or Cable Track Hardware is ideal for drop ceilings
- Cables are dropped down from structure above at any height
- Track support tab sticks above the ceiling tiles for clean install
- Heavier duty than the aluminum and light I-Beam tracks on the market
Material Options
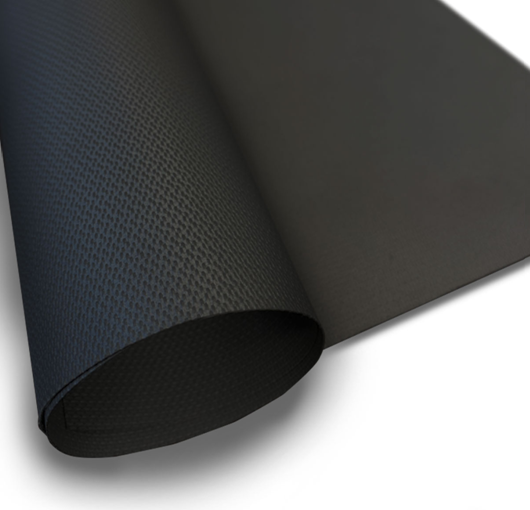
Single Layer Curtain
Rated at 425 W/cm2 for 100 seconds for Class 3B and 4 lasers Size: 58”x96” (*Tested at 1064nm with 1mm beam diameter) $
Double Layer Curtain
Rated at 575 W/cm2 for 100 seconds for Class 3B and 4 lasers size: 58”x96” (Tested at 1064nm with 1mm beam diameter) $$
Triple Layer Curtain
Rated at 2150 W/cm2 for 100 seconds for Class 3B and 4 lasers size: 58”x96” (Tested at 1064nm with 1mm beam diameter.) $$$
Optional Upgrades
Cleanroom Skins
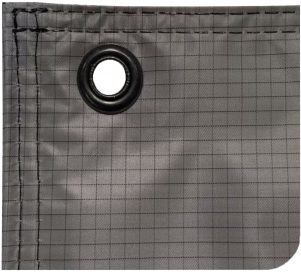
This protective layer adds cleanroom, antistatic, & antibacterial properties; all in one. It is sewn onto the front and back of the laser safe curtain.
ESD Skins
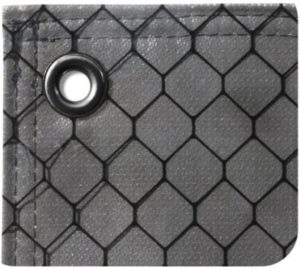
This protective layer adds antistatic properties and is sewn onto the front and back of the laser curtain. By the ASTM D-257 testing methods, the Electrostatic Discharge (ESD) Standard Protective Layer has a surface resistance of 106-107 Ω/sq.m.
Key Benefits
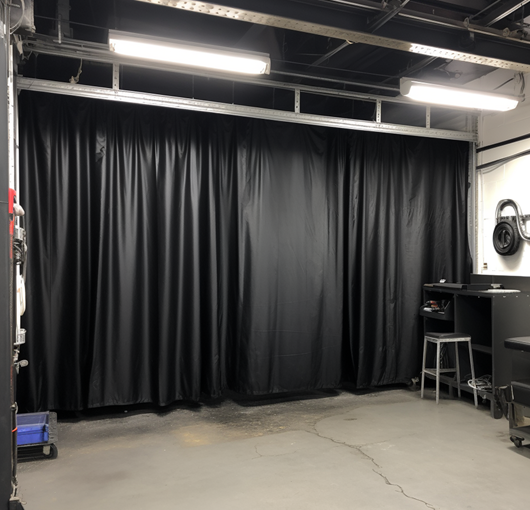
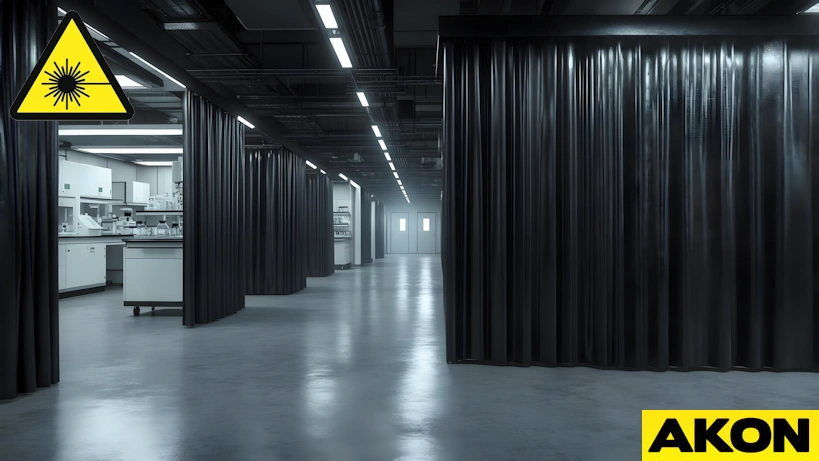
- 100% laser blackout curtains
- NFPA-701 approved for flame resistance
- Made in the USA
- Constructed using top of the line material
- Customization to meet your exact needs
- Laser curtain material made to order
Common Layouts
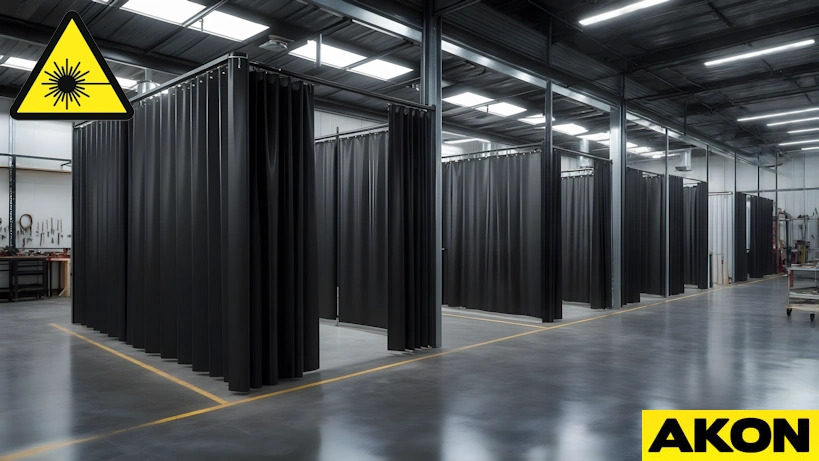
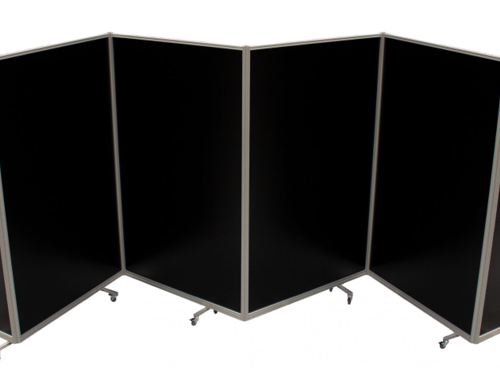
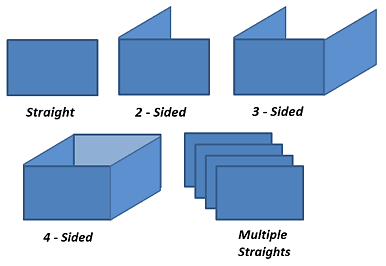
AKON can supply just about any layout you can think of for your safety laser curtains. Below are some common layout styles. They can be single sided, double-sided, triple sided, four-sided or multiple straights to create complete enclosures. Simply inform AKON about your desired design and we will have it fabricated exactly as you need it for a perfect fit. For customized layouts, sketch your design and upload it using our online RFQ form. See button below.
Width
- Measure the distance that you are trying to cover and then add 5% to that dimension and enter it into the width box.
- TIP - The reason you want to add 5% is for proper drape of the curtain so it properly covers the span.
Height
- Measure the distance from the floor to the above mounting point (from where you would attach the curtain track) and subtract 3 inches, and then input it into the height box.
- TIP - If you are not using any hardware, then you don't need to subtract the 3"
Need More Help? Watch This
Common Questions
- Standard curtains have approximately 3.75 to 1″ of a gap from the bottom of the track to the top of the curtain.
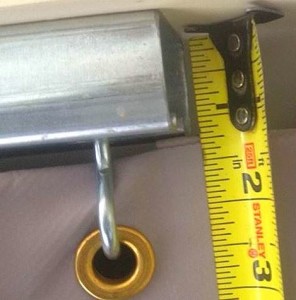
What are the dimensions of the track?
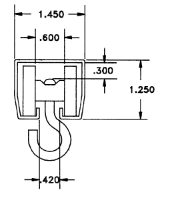
- Yes, the track is made to be field cut on site using a hack saw or Sawzall.
- A radius corner has a 2' radius. So if you input 10' for curtain length you will end up with 12' when you attach the radius corner. If that is too long then simply cut the track onsite and the radius will still work.
- Custom radius corners are not possible at this time. If you application must have custom radius corners you might considering getting a curtain track from another supplier and the curtains from AKON.
- The track is modular in design and will arrive in pieces that have a simple bolt together design.
- The track should be supported approximately every 5' with a track support. The farther apart the track supports, the greater the deflection. If you have a relatively short in height curtain then you could space the supports out a little farther. You will receive enough track supports with your order to achieve this 5' spacing.
- Yes. This is called a flush mount install and is very common. Simply drill through the middle of the track and use a small wood screw, bolt, Tek screw...etc. into your structure. Space the holes about every 3-5'.
- It is very easy. All of the components simply fit into each other and connect with set screws. The installation is very intuitive. If you have any difficulty simply call or email us and we will walk you through the process.

